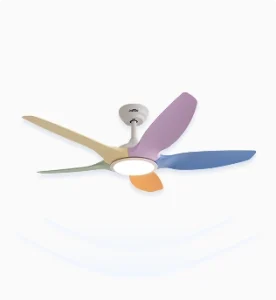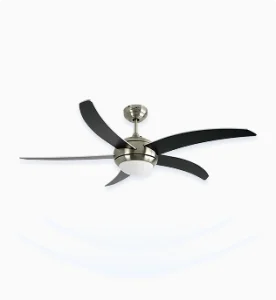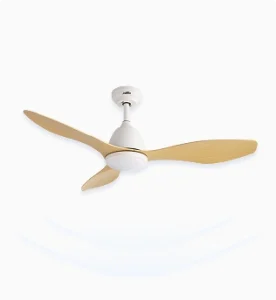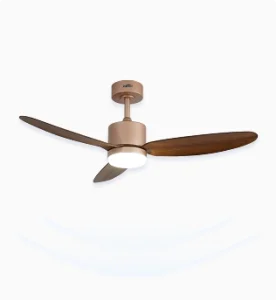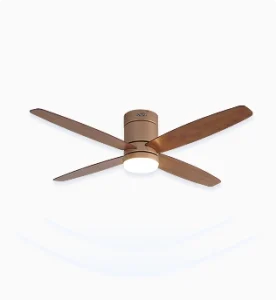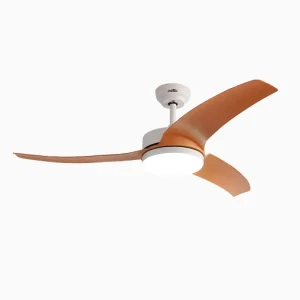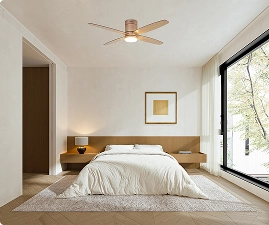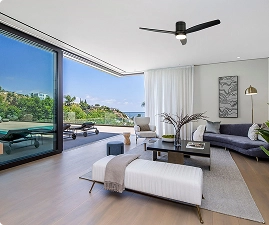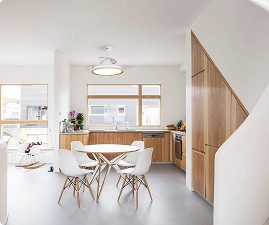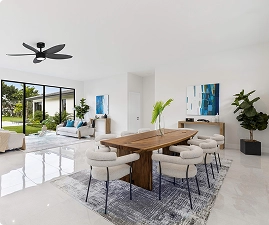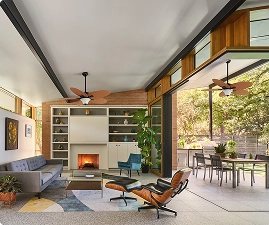





A dimmable LED ceiling fan combines two jobs that are often specified separately: moving air and providing useful ambient light. The best choice is not simply the fan with the most features. It is the model whose motor, blade span, light output, color appearance, control method, mounting plan, and service access fit the room and the people who use it. This guide explains how to evaluate those choices before a purchase order or installation decision is made.
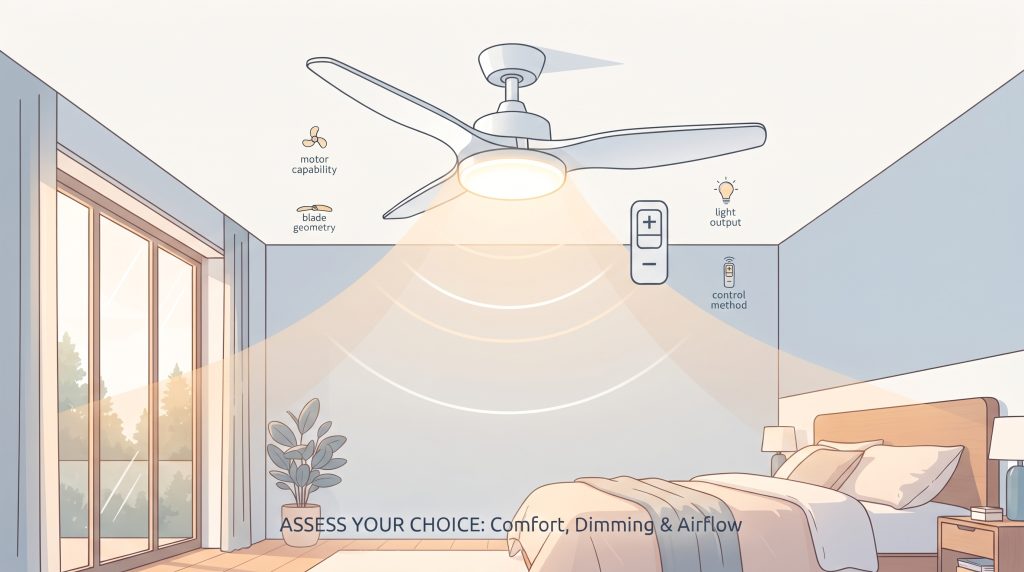
Start with the room rather than a product photo. A bedroom, kitchen, covered patio, rental unit, hotel room, or showroom needs a different balance of airflow, glare control, dimming behavior, and maintenance access. A fan can be quiet and still feel wrong if its light is too cool, its lowest dim level is too bright, or its remote makes routine operation confusing. A clear brief makes comparison faster and reduces late changes.
For an overview of available configurations, begin with the 1stShine ceiling fan collection. Then use the criteria below to turn a broad search into a documented, room-specific selection.
Why Dimmable LED Ceiling Fans Need a Room-First Brief
A useful brief records room length, width, ceiling height, primary activities, furniture position, existing junction-box location, wall-control location, and daylight. It should also say whether the fan is intended as the main light source or as ambient light that works with other fixtures. That distinction changes the lumen target, shade choice, and need for separate circuits.
Brightness should be discussed in lumens, not only watts. ENERGY STAR buying guidance uses lumens as the brightness measure and gives familiar reference points such as 450 lumens for a 40-watt incandescent equivalent and 800 lumens for a 60-watt equivalent. Those references do not replace a lighting calculation, but they prevent a common mistake: assuming that a low LED wattage tells you how bright the room will feel.
Dimming adds another decision. A product may dim, yet have a limited usable range, visible stepping at low output, or a control that is not compatible with the installed dimmer. Ask for the stated dimming range, the recommended controls, the behavior after a power interruption, and whether light level and fan speed can be changed independently. The word dimmable alone is not enough for a project specification.
Define the decision owner
On a residential project, the owner may value a warm evening setting and simple remote control. In hospitality or multifamily work, the owner may also need repeatable settings, replacement parts, and clear handover information. Write those priorities down before comparing finishes. A fan that looks similar on a product page can have a very different control system, LED module, warranty path, or mounting limitation.
For planning context, review the ENERGY STAR ceiling fan basics. Its room-size and mounting guidance is a useful starting point, while the final choice should follow the model documentation and local installation requirements.
Match Light Output and Color to the Intended Use
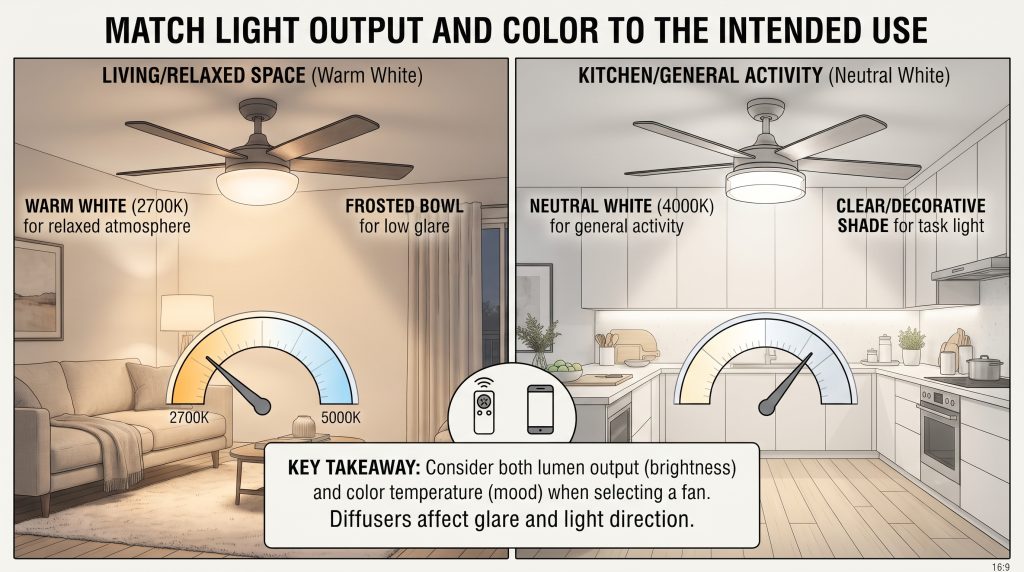
Light output answers how much visible light the integrated fixture can provide. Color temperature answers how warm or cool that light appears. They solve different problems. A fan with adequate lumens can still create an unpleasant result if its color temperature conflicts with finishes, task lighting, or the mood expected in the room.
Many buyers start with a color temperature range rather than one fixed number. Warm-white settings are commonly chosen for relaxed living spaces. Neutral-white settings can support general activity and kitchens. Higher color temperatures can look more crisp, but they should be tested against the surrounding finishes and any daylight. If a fan offers selectable color temperature, confirm whether the setting is changed at installation, through a remote, or through an app, because those workflows affect daily use.
Look at the optical design as well as the LED specification. Frosted bowls and diffusers can soften glare but may reduce the sense of directional task light. Clear or decorative shades can create brighter points of light and visible shadows. In rooms where people look upward from a sofa or bed, low-glare diffusion is usually more important than a headline lumen number.
Ask for usable light, not a marketing proxy
Request the total light output, input power, color temperature, color-rendering information where supplied, and the dimming range. Compare those values at the same setting. Do not compare a maximum lumen claim from one fan with a nominal LED wattage from another. When lighting is central to the decision, use a sample, photometric documentation, or an installed mock-up to assess the actual result.
The U.S. Department of Energy explains that color-tunable products can control intensity and color separately, and that the user interface matters. Read its color-tunable LED guidance when comparing models that offer more than a fixed CCT.
Check LED Dimming and Control Compatibility Before Ordering
Compatibility is the most important technical check in this category. The LED light source, driver, receiver, wall control, and dimmer must be designed to operate together. A conventional dimmer is not a substitute for a fan-rated control. ENERGY STAR specifically cautions that using a conventional dimmer to run a fan motor can cause humming; a fan-and-light control should operate those functions separately.
First identify the planned control topology. A handheld remote may be convenient when wiring options are limited. A wall control may be preferable in an entry, guest room, or managed property because it is visible and predictable. Smart control can add schedules and voice integration, but it also introduces setup, network, firmware, and recovery considerations. Choose one primary user journey and make sure visitors can still operate the fan without an app.
Then check the exact model documentation. Confirm maximum load, speed steps, reversing method, receiver location, canopy clearance, and whether a dimmer is permitted on the lighting circuit. If the fan uses a supplied receiver, do not assume it will work with every third-party wall device. If there is an existing control, compare its model number with the manufacturer compatibility list before installation.
Plan for low-end dimming
Test Dimmable LED Fan Controls at Night
Run the final low-light test with the intended wall control or remote in the finished room. Check whether the light holds a comfortable level without visible flicker, abrupt steps, or unwanted changes to fan speed. Record the tested control model so the same setup can be supported if a replacement is needed.
High-output performance is easy to demonstrate. The useful test is at the low end: does the light stay stable, quiet, and comfortable at the level used for television, bedtime, or early-morning circulation? Check for flicker, popping, delay, abrupt steps, or a light that will not return to the last setting. Document the tested control and firmware version where applicable so a replacement unit can be matched later.
For independent guidance, see ENERGY STAR’s control and accessory advice. It recommends checking maximum amps, number of speeds, total lamp wattage, and brand compatibility when controls are purchased separately.
Choose Airflow, Blade Span, and Mounting for the Space
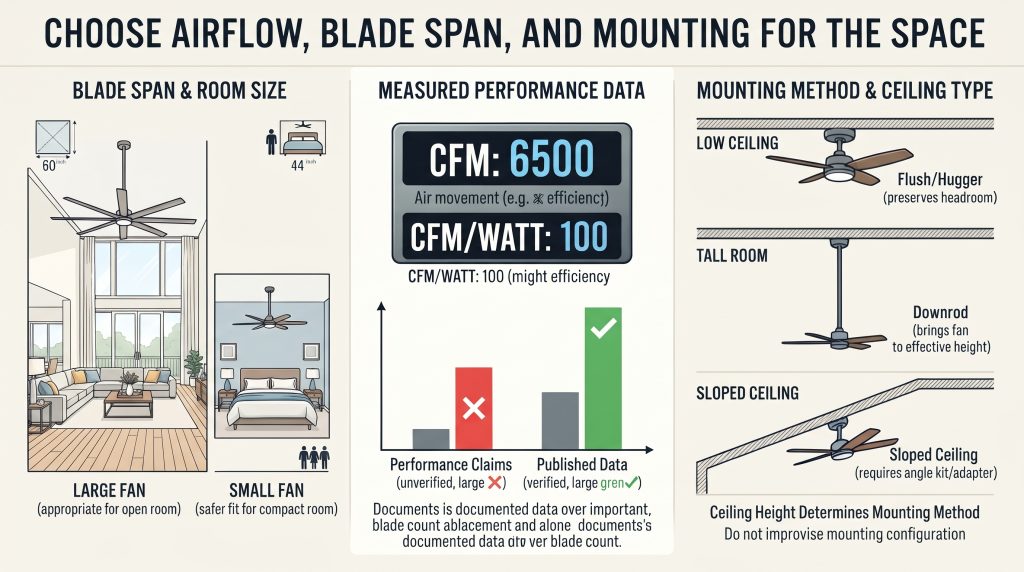
A lighting feature does not remove the need to size the fan as a fan. Start with room dimensions, ceiling height, and the distance from the planned fan to walls, cabinets, sprinklers, and tall furniture. Blade span affects the visual scale and the air pattern. Motor and blade design affect airflow and sound. A large fan can be appropriate in an open room, while a smaller or low-profile model may be the safer fit for a compact bedroom.
Compare measured airflow and efficiency where those data are available. CFM describes air movement, while CFM per watt describes an efficiency relationship. Neither number alone predicts comfort because mounting height, room geometry, speed selection, and obstructions change the result. Still, published performance data provide a better comparison base than blade count or an unverified claim of “powerful airflow.”
Ceiling height determines the mounting method. A flush or hugger fan preserves headroom on a low ceiling, although blades close to the ceiling can move less air than a standard mount. A downrod can bring a fan to a more effective height in a tall room. For sloped ceilings, confirm the listed angle limit and any adapter requirement. Do not improvise a mounting configuration that the model documentation does not support.
Keep clearances visible in the plan
ENERGY STAR advises placing a fan at least seven feet above the floor and 18 inches from walls, and notes that an installation height of roughly eight to nine feet above the floor is optimal when ceiling height allows. Treat those figures as planning guidance, then follow the manufacturer instructions and applicable code. Mark clearances on the drawing before electrical rough-in rather than trying to solve them after the finish work is complete.
Use the large and high-CFM ceiling fan range as a starting comparison point for open rooms, and use a model-specific data sheet for the final selection.
Evaluate Safety, Installation, and Service Access
A ceiling fan is a moving electrical appliance, so the junction box and support structure matter as much as the finish. Before selecting a fan, verify the existing outlet box is rated for ceiling-fan use and assess whether the mounting point, bracket, and wiring can support the selected model. A decorative ceiling-light box may not be appropriate for a fan. If the installation condition is uncertain, have a qualified electrician review it before materials are ordered.
Installation needs are different when a receiver, separate light and fan controls, or a long downrod is involved. The canopy must have room for the receiver and connections. The supplied downrod may not fit the ceiling height. A sloped ceiling may need a compatible kit. Specify these items as part of the fan package so the installer does not need to substitute an untested part on site.
Plan service access while the model is being chosen. Integrated LED modules can create a clean appearance and reduce bulb replacement, but they may require a manufacturer replacement module rather than a standard lamp. Ask how the light engine, driver, receiver, remote, and blades can be replaced, which parts are stocked, and how a warranty request is handled. Those answers are especially important for a property with several identical rooms.
Installation checklist
- Confirm the outlet box is marked for ceiling-fan use and is securely supported.
- Verify supply voltage, grounding, circuit capacity, and the planned control wiring.
- Check mounting height, wall clearance, blade clearance, and ceiling slope against the model manual.
- Keep the exact fan, receiver, and control instructions with the handover documents.
- Test every fan speed, dimming level, reversal setting, and control after installation.
ENERGY STAR’s installation guidance explains why a fan-rated electrical box is essential and notes that fans can be heavy. It is a useful review resource, not a replacement for local professional requirements.
Compare Product Options with a Consistent Scorecard
A scorecard prevents an attractive finish or a single sales claim from deciding the whole purchase. Give every shortlisted model the same fields, then compare only documented values. Use notes for unknown items rather than treating an omission as a favorable answer. If a project needs multiple fans, include a column for delivery lead time, spare parts, and finish consistency across the range.
| Evaluation item | What to record | Why it matters |
|---|---|---|
| Light performance | Lumens, CCT, diffuser, dimming range | Sets brightness, appearance, and low-light usability |
| Controls | Remote, wall control, app, compatible dimmers | Determines daily operation and replacement risk |
| Air movement | Blade span, airflow, speed range, sound data | Connects the fan to room comfort |
| Instalación | Mount type, downrod, slope rating, receiver clearance | Avoids late site changes |
| Service | LED module, driver, receiver, warranty, spare parts | Supports long-term ownership |
Separate must-haves from preferences. A fan that cannot use the required wall control should be removed even if it offers a favorite finish. A model with a fixed CCT may still be the better option if it provides the correct light, a documented dimming range, and dependable service access. Scorecards make that trade-off explicit.
Use product pages as evidence, not as assumptions
Open the specific product page, download the installation documentation if available, and capture the model number. For example, the site’s dimmable LED ceiling fan product page is the right place to begin a model-level discussion. Confirm the final specification directly with the supplier before issuing a purchase order because options can vary by configuration and market.
Plan the Purchase, Commissioning, and Everyday Use
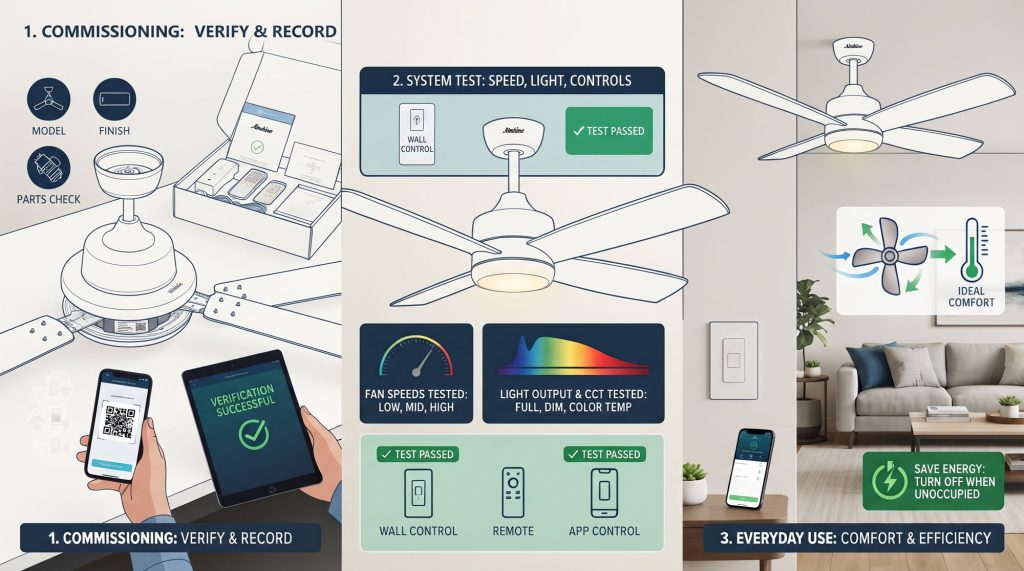
A good purchase process ends with commissioning, not delivery. When the fan arrives, check the model, finish, blade set, downrod, receiver, remote, and any wall controls against the order. Keep photographs of labels and the serial number where practical. These records reduce uncertainty if a replacement part or technical question is needed later.
During commissioning, test the motor and light as separate systems. Run each speed long enough to listen for unusual noise. Test light output at full, mid, and low levels. Change color temperature if the product provides that option, then verify the selected setting persists as intended. Test wall controls, remotes, app controls, and manual switches. If the fan has a seasonal reverse function, show the user where it is and record the setting.
Everyday use should be simple. A ceiling fan circulates air and helps occupants feel comfortable; it does not lower room temperature in an empty room. Turn the fan off when the room is unoccupied unless ventilation strategy or project requirements say otherwise. Clean blades carefully according to the manual, and do not use unapproved cleaners on finishes or diffusers.
Make handover practical
Give the occupant a one-page guide with the model, control method, battery type if applicable, how to change fan speed, how to dim the light, the location of the reverse control, and service contact information. For a larger project, keep a unit-by-unit schedule with model numbers and installed controls. This modest documentation often matters more to satisfaction than another feature on the remote.
For questions about models, replacement paths, or project needs, use the 1stShine contact page and provide the room information and control plan gathered in this guide.
Summary: Select Dimmable LED Ceiling Fans with Evidence
The best dimmable LED ceiling fan is the one that meets a defined room brief, not the one with the longest feature list. Evaluate light output and color separately, require documented dimming and control compatibility, size the fan for the room, verify safe mounting, and compare service access before ordering. A short scorecard turns a subjective selection into a decision that can be explained, installed, and maintained.
For a reliable final check, keep the model documentation with the purchase file, confirm the exact control compatibility, and have a qualified installer verify the mounting and electrical conditions. These steps protect both light quality and fan performance.
Ready to narrow the choices? Share your room dimensions, ceiling height, preferred light appearance, and control requirements with 1stShine to start a product conversation tailored to the space. You can also review the frequently asked questions before preparing a product inquiry.
Detailed Buyer Notes for Specification and Handover
The following field notes expand the checklist for buyers, designers, installers, and property teams. Use the points that apply to the project and retain the model documentation as the controlling source.
- When reviewing a cut sheet, distinguish a product family statement from a model-specific statement. A family may include several blade spans, control packages, or LED options. The final order line should identify the exact configuration, including finish and voltage where relevant. If a detail cannot be tied to the exact model, list it as open rather than carrying it into the specification.
- Consider visual rhythm across an open-plan space. Two fans do not need to be identical, but their blade finish, light appearance, canopy profile, and control behavior should be intentional. A consistent control experience is often more valuable than identical decorative details. Document which differences are aesthetic and which change the electrical or mounting requirements.
- If the room also has recessed lights, pendants, or lamps, decide which source supplies general light and which sources support tasks or accent. This avoids overbuying fan light output and then relying on dimming to correct an overly bright room. It also helps select a compatible color temperature range across the full lighting scheme.
- For sleeping spaces, assess the combination of motor sound, air movement, remote button layout, display lights, and lowest dim setting. A remote with a bright indicator or an LED module that cannot dim low enough can be more disruptive than a small difference in maximum airflow. Ask to see the night-use behavior before committing to a large rollout.
- For rental and hospitality installations, avoid a control arrangement that requires a guest to understand a hidden pairing sequence. Choose a setup that can be reset and supported by the operator. Keep a spare remote or documented replacement source in the maintenance file. A simple, visible wall control may reduce calls even when a remote is included.
- For renovations, inspect the ceiling construction before selecting a long downrod or a heavy decorative fan. The mounting path, junction-box location, and wire length may drive the scope more than the fan itself. Early inspection is less costly than opening a finished ceiling after the product arrives.
- Outdoor language must be precise. A fan intended for a covered, humid location may not be appropriate where it receives direct rain. Check the model rating, the location conditions, and the entire assembly rather than assuming a weather-resistant finish answers every exposure question. Follow the documentation supplied for the exact model.
- When a dimmable LED fan is paired with a smart home platform, verify what remains operable if the network is unavailable. Physical wall control, remote control, and manual recovery should be understood before handover. Also clarify whether an update can change the interface or require the fan to be paired again.
- Do not promise a specific energy outcome based only on a fan label. Actual use depends on speed, occupancy, thermostat behavior, room envelope, and local climate. Use published efficiency data as a comparison tool, then communicate expected operation in plain language. This creates a more credible conversation with the end user.
- Check the delivery package against the installation sequence. Some models include a remote but not batteries, a canopy receiver but not a wall control, or a short downrod but not the extension needed for the room. Listing these items before procurement avoids treating accessories as last-minute extras.
- For a darker finish, inspect the diffuser in the actual room. The surrounding ceiling color, daylight, and reflective surfaces can change how the fan appears and how bright the light feels. A small finish sample is helpful, but an installed or mocked-up fixture provides better evidence when the project is sensitive to appearance.
- If the product offers multiple fan speeds, record what each user is expected to do at each speed. The highest setting may be useful for a brief cooldown, while the middle settings may be the normal occupied condition. This framing makes comfort discussion more practical than a single maximum-CFM comparison.
- Create a replacement-parts plan for integrated LEDs before the warranty period ends. Ask whether the module, driver, and receiver are separately replaceable, whether part numbers are printed on the components, and whether changes in a future revision will affect compatibility. A serviceable product should have a traceable path for the common wear items.
- When commissioning a new fan, check balance as well as operation. Minor wobble, misaligned blades, or loose hardware can become a persistent comfort and maintenance issue. Follow the manufacturer balancing procedure and do not adjust blades in a way that conflicts with the instructions. Record any corrective action in the handover file.
- The purchase decision benefits from a simple exception log. If a selected model departs from the initial brief, state why. Perhaps the preferred finish required a different light output, or the mounting condition required a flush model. Recording the trade-off makes it easier to resolve future questions and maintain consistency across rooms.
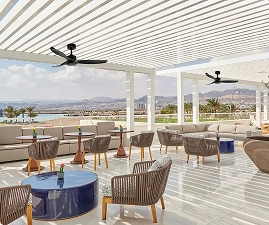
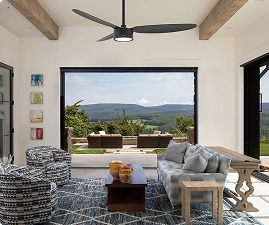
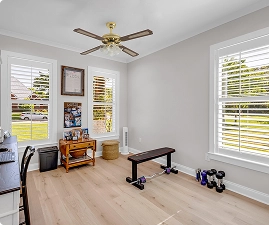
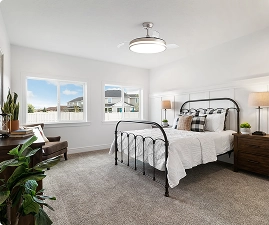
- Treat product photography as inspiration rather than performance evidence. Images can obscure ceiling height, blade scale, glare, and the number of other lights in the room. Use dimensioned drawings, specifications, and a room plan to decide fit. This is especially important when a large fan is shown in a spacious staged interior.
- Where several controls are available, choose one source of truth for normal use. Competing wall, remote, and app settings can confuse occupants if their behavior differs after power restoration. Explain which control should be used daily and which is intended for setup or backup. Test that approach before final handover.
- Ask who will clean the fan and how often. Dust on blades changes the appearance of a finished room and can make a white diffuser look dull. Specify access equipment and cleaning responsibility for high ceilings or commercial spaces. Maintenance planning is small work, but it protects the original visual intent.
- If the fan is selected for a child room, consider both mounting safety and control simplicity. Keep the fan high enough and away from bunk beds or tall furniture. Choose a lighting range that supports reading and winding down, and make sure an adult can change settings or replace a remote without relying on an undocumented app account.
- For a remodel with unknown wiring, schedule a site survey before the fan is chosen. Confirm how many conductors reach the ceiling box, whether a neutral is present at the wall location, and whether the desired wall control can be installed without opening finished surfaces. Some remote-receiver systems simplify wiring, while others create a different service consideration. Record the existing condition in photographs and notes. That record allows the electrical scope to be priced accurately and prevents a later assumption that light and motor can be controlled independently when the installed wiring does not support it.
- Review the relationship between ceiling fan lighting and emergency or code-required lighting separately. An integrated LED fan is normally selected for comfort and general illumination, not as a substitute for a dedicated life-safety system. In commercial work, coordinate with the project lighting plan and authority having jurisdiction. In residential work, keep the same discipline: a fan light should be specified for its intended use, while stair, exit, bath, and exterior lighting needs are evaluated on their own requirements.
- When comparing warranty terms, look beyond the headline duration. Identify which parts are covered, who pays labor, whether the LED light engine and remote are treated differently from the motor, and what documentation is needed to make a claim. A long motor warranty does not necessarily resolve a failed receiver or damaged diffuser. Put the supplier contact, invoice, model number, and installation date in the handover pack so the owner can use the warranty without reconstructing the purchase history.
- Coordinate the fan with other ceiling elements early. Sprinklers, smoke detectors, vents, recessed fixtures, beams, and access panels all affect placement. A fan centered in a room may not be centered on the available structural support. Rather than forcing symmetry at the expense of clearance or safe anchorage, test a few layout options on the reflected ceiling plan. The best result balances air distribution, lighting composition, serviceability, and the real structure above the finished ceiling.
- Finally, distinguish a demonstration from an acceptance test. A showroom demonstration can prove that a feature exists, but it does not prove performance in the finished room. Acceptance should take place after installation with the intended controls, ceiling height, and surrounding lights. Check for vibration, noise, command response, dimming quality, color setting, and reasonable visual comfort from normal seating positions. Record any issue while the installer and supplier can still respond efficiently, then give the occupant a clear explanation of normal operation.
- Use the same model naming convention on drawings, purchase orders, installation records, and user guides. A clear naming pattern connects the intended product to the delivered product. Include the manufacturer, full model number, finish, blade span, control package, and relevant LED option. This practice is particularly useful when a project has visually similar fans in different rooms. It protects the decision trail, simplifies replacement-part requests, and makes future renovation work less dependent on memory or incomplete photographs.